Venturing into the sun-scorched expanse of Arrakis in Dune: Awakening feels less like playing a game and more like stepping into a living, breathing ecosystem of danger and opportunity. Among the shifting sands and hidden sietches, the Imperial Testing Stations stand as forgotten relics, treasure troves brimming with resources you can't find anywhere else. Imperial Testing Station 10 is the crown jewel of these challenges, a labyrinthine complex where every shadow could hide a Harkonnen patrol and every corner might conceal a chest of precious Advanced Servoks. Think of it as a mechanical geode cracked open in the desert—rough and dangerous on the outside, but glittering with invaluable components within. For any Fremen aspirant or House operative looking to power up their gear in 2026, conquering this station is a non-negotiable rite of passage. 🏜️⚙️
🗺️ Pinpointing the Prize: Station 10's Location
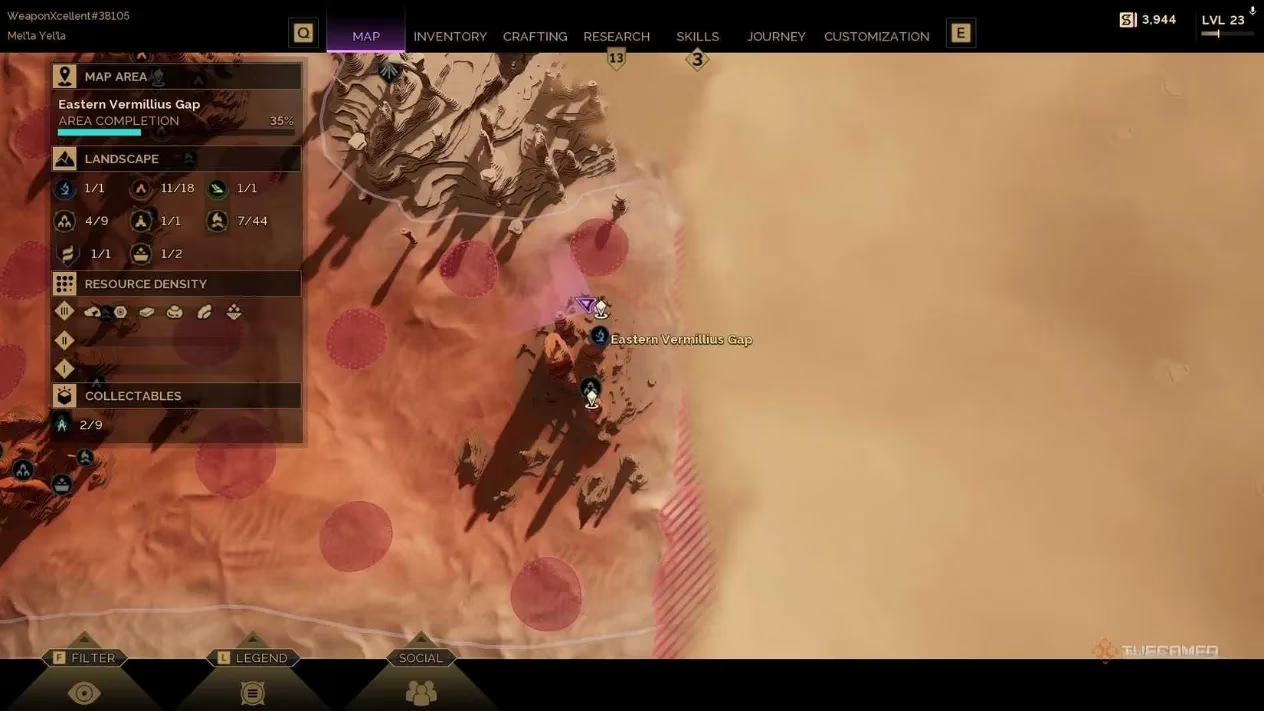
First things first, you need to find it. Don't just wander into the deep desert hoping to stumble upon it; that's a recipe for becoming worm food. Imperial Testing Station 10 is anchored in the eastern region of the map. Navigate towards the Eastern Vermillius Gap, but stop before you hit the treacherous quicksand seas. Keep an eye out for the Hagga Rift to the north—it's your most reliable landmark. The station itself isn't camouflaged, but in the vastness of Arrakis, knowing exactly where to look is half the battle.
🎒 The Essential Packing List: Don't Leave Your Sietch Without This
Walking into Station 10 with just a Stillsuit and a prayer is like bringing a knife to a lasgun fight—a spectacularly bad idea. This place is a fortified hive of activity. Here’s your mandatory loadout:
-
Weapons & Armor: Your best guns, period. This isn't a stealth mission; it's a tactical clearance. Ditch the basic Stillsuit for armor with a high defensive rating. You'll thank yourself later.
-
Healing Supplies: Pack them like you're planning to open a field hospital. Medkits, stims, the works.
-
Welding Torch & Wire: Arrakis is unpredictable. If a sandstorm rolls in while you're inside and pummels your sandbike, you'll need to make repairs on the fly unless you fancy a long, dangerous walk home.
-
Water? Surprisingly, not a top priority here. The station's interior provides some shelter from the sun's worst effects.
🧭 The Grand Tour: A Room-by-Room Loot Guide
Navigating Station 10 can feel like deciphering the internal logic of a deranged clockwork toy—complex, layered, and full of surprises. Let's break down every container, enemy cluster, and secret.
🟢 Initial Chambers & The Red Hologram
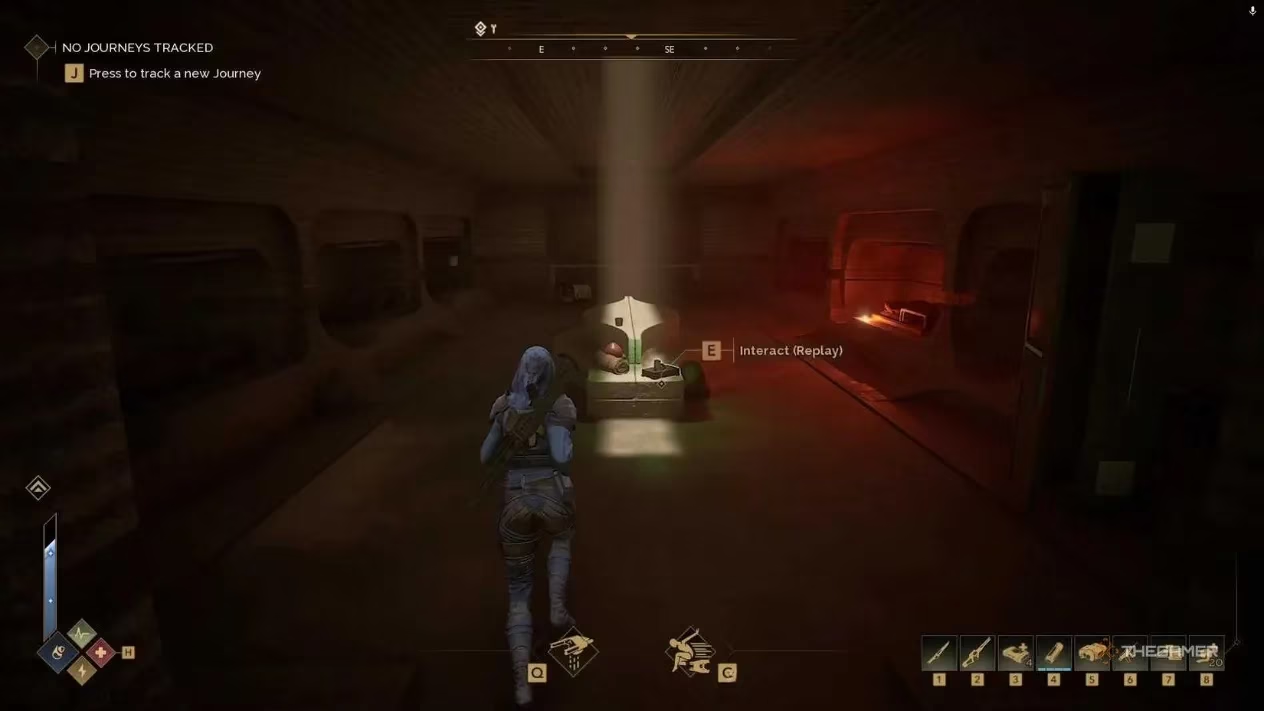
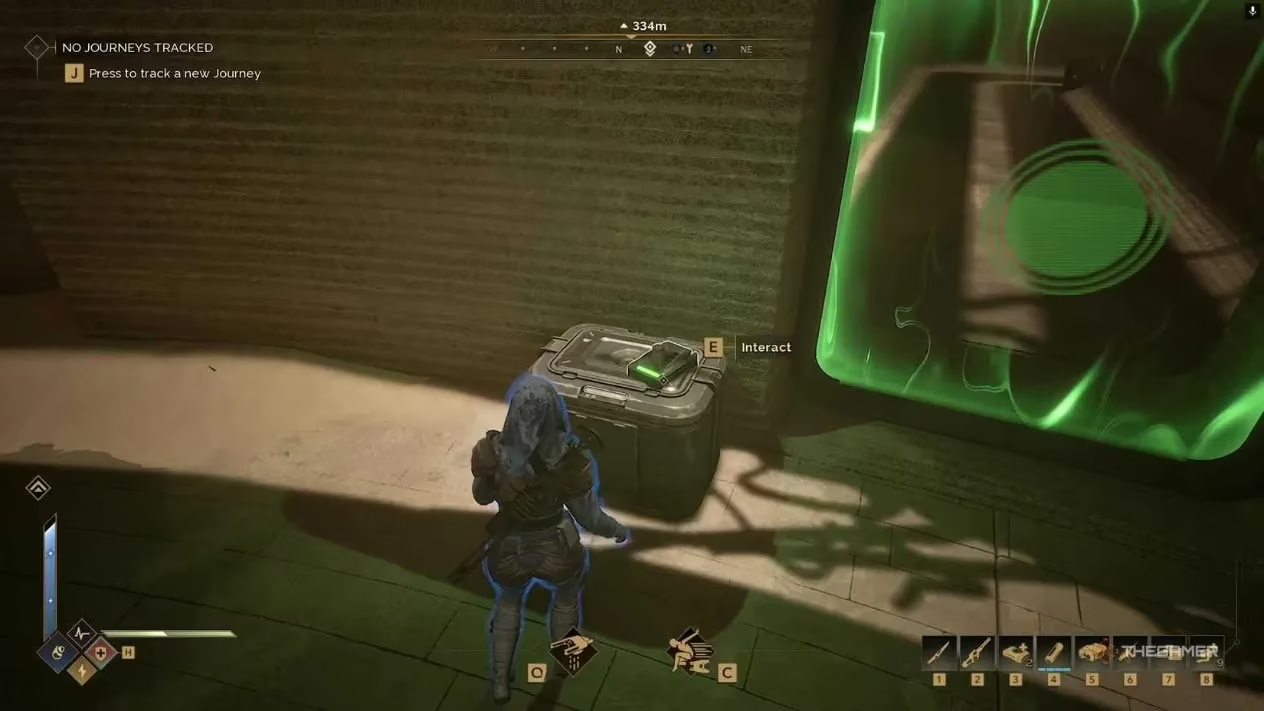
Right after the entry point and the ominous red hologram, your first loot awaits. A chest sits on a shelf across the first room. The adjacent chamber, a small quarters area, holds a triple bonus: one chest, one locker, and one audio recording lying on a bench.
🌀 The Spiral Descent & Split Paths
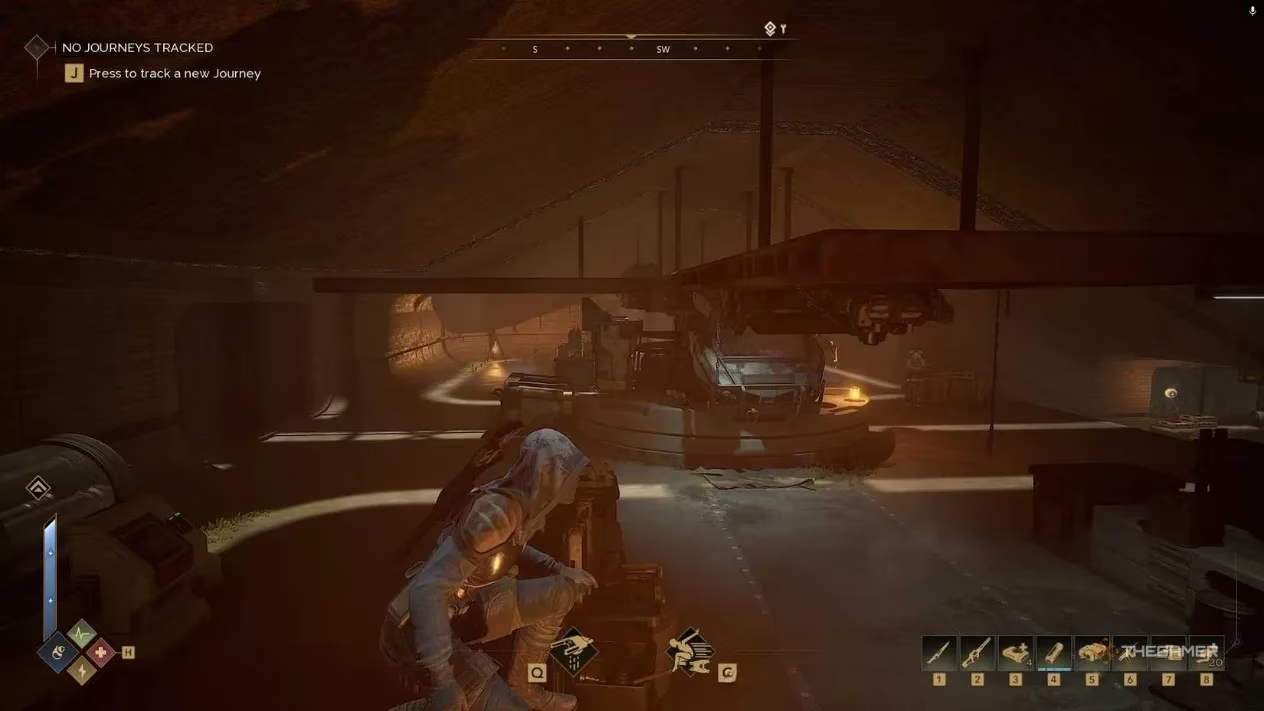
Head down the spiral staircase. In the open circular section below, two chests are tucked away. The path then forks, but both routes converge. The left fork has a staircase leading to a large machine at the bottom. The right fork leads to an upper level where a chest perches on a metal container.
🌳 The Central Greenhouse & The Shielded Menace
This area is the station's eerie, overgrown heart. A cylindrical section with a lone tree dominates the main room. Loot here includes:
-
A chest on the mid-level to the right of the tree (from the entrance).
-
Another chest by the bottom staircase on the left.
A subsequent staircase opens to a widened hallway with a larger greenhouse. Here, chests are on every side except the front, and a recording sits on the right.
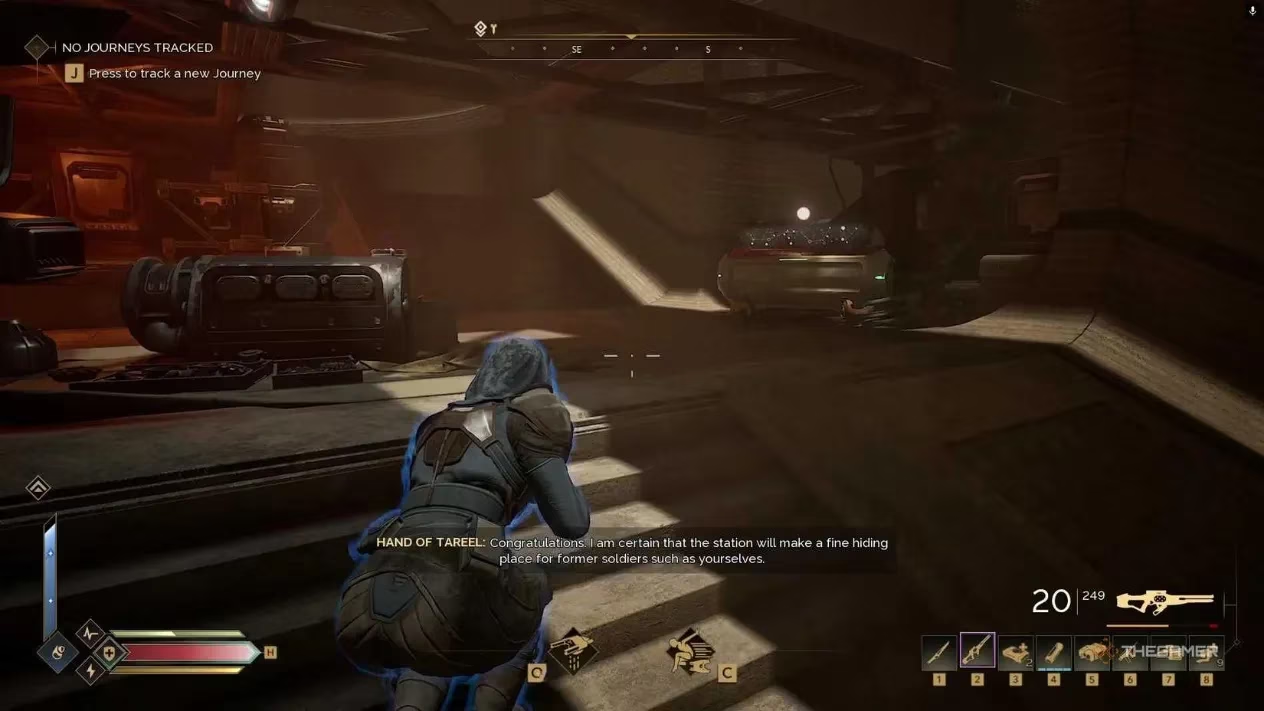
Now, gear up. The next room houses a notoriously difficult enemy with a personal shield and a mini-gun. Fighting this foe is like trying to outmaneuver a cornered scorpion—aggressive, deadly, and punishing if you get too close. The strategy? Use cover intelligently. Peek out to bait their fire, duck back to let their shield drop, then land your shots. The room also contains a machine on the left and a chest on the lower right.
📦 The Lower Levels & Multi-Section Rooms
Past the shielded enemy, the station unfolds into a series of interconnected rooms:
-
A room with a large staircase. A recording is on the right, and a chest is farther back on the left.
-
The bottom of the staircase holds more enemies than usual and a container on the left wall.
-
A divided room with soft green lighting. Loot is split: a chest in the first right section, one in the center, and a chest plus a locker in the section furthest from the entrance.
-
The next room has a chest immediately to the left and another further in on the right.
-
A small dead-end room attached to the last holds two chests and a recording.
🚨 The Final Gauntlet & The Grand Prize
The final stretch is the ultimate test. A hallway bend has a chest near the windows. A fork leads to a dead-end with a chest and a locker.
Then, the main event: a large, multi-level chamber swarming with enemies. Moving through here is like trying to sip water from a broken stillsuit—chaotic and likely to leave you parched for health. Take it slow.
-
Upper Level: Contains four chests (immediate left corner, far left corner, on the right walkway).
-
Lower Level: Has two containers (near the central staircase, on a middle work area), two machines (near the work area, southwest side), and a locker with a recording beside it on the southwest side.
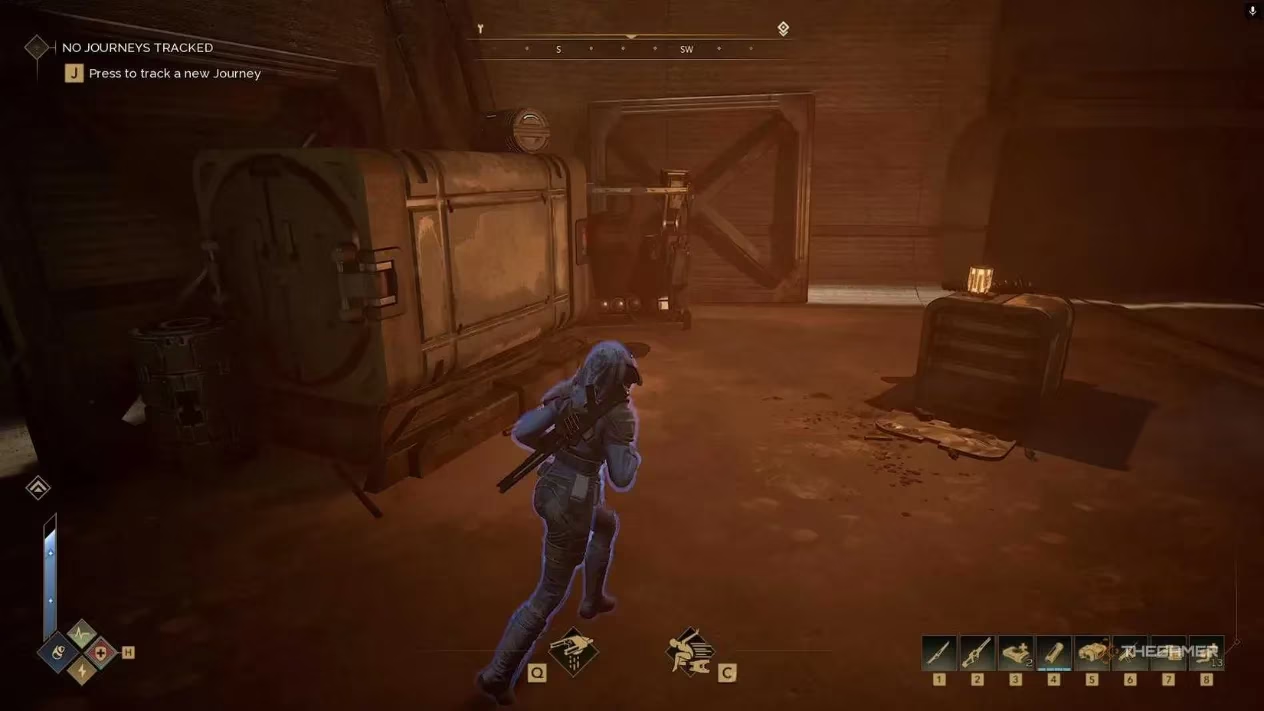
After this battle, you're on the home stretch. Just outside a green door is a chest in an alcove. The next room has a chest on the left, a locker on the right, and a recording nearby. Another room has a chest on the left near a sandy table, with a branching room containing one large chest.
The Penultimate Challenge: The next room holds another tough enemy—a Harkonnen with a fast-firing weapon and massive health. Fighting him up close is as wise as challenging a Maker to a sumo match. Keep your distance. A recording sits by the green door here.
🏆 The Vault: Your Reward Awaits
This is it. The final room. Your perseverance pays off with:
-
A purple Identity Band shimmering in the center of the room.
-
A small chest on the left.
-
The pièce de résistance: a special chest on the right, marked with a holographic constellation. This is your trophy, guaranteed to contain top-tier loot that makes the entire ordeal worthwhile. Opening it feels less like claiming a prize and more like receiving a blessing from the desert itself—rare, powerful, and deeply satisfying.
💎 Final Verdict: Is It Worth The Spice?
Absolutely. In the economy of Dune: Awakening, resources like Advanced Servoks and Particle Capacitors are the lifeblood of progression, and Station 10 is a prime vein. It’s a masterfully designed dungeon that tests your combat skills, inventory management, and patience. Completing it in 2026 remains one of the most rewarding solo achievements on Arrakis. So pack your heaviest armor, double-check your ammo count, and go claim what the old Imperium left behind. The desert rewards the bold, and the treasures of Station 10 are a testament to that. Just remember: walk without rhythm, and loot with purpose. 👣✨
COMMENTS